
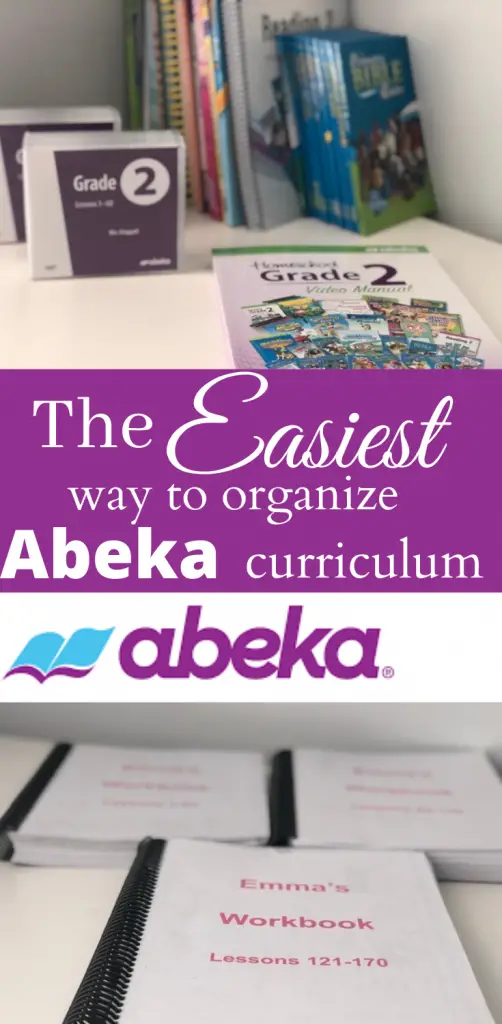
Love Abeka curriculum but feel a bit overwhelmed trying to organize and store all those papers? I have found what I believe is the easiest way to organize Abeka curriculum by using a simple binding method. No bulky crates required.
Why I Love Abeka
I don’t know about you, but I LOVE Abeka curriculum. My kids have learned so much and they absolutely love the videos and workbooks. Their handwriting and phonics skills are phenomenal and I think it has a lot to do with this curriculum. However…it’s a lot. Like a lot a lot.
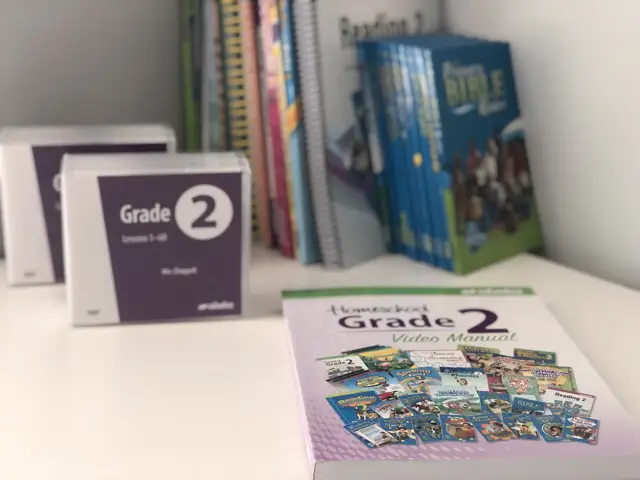
Each grade has several (stacks) of papers, workbooks, readers, video manuals and books for mom. This is one of the reasons I love Abeka, because it’s all inclusive. I don’t have to research and mess with piecing together different curriculums and worksheets or worry if my kids are getting all they need. I have confidence and peace of mind with this curriculum.
I could go on about all the different reasons why I love Abeka but I’ll save that for a different post. In short, one of the main reasons is it’s a great, solid curriculum and it’s all inclusive. I know it’s not for everyone, but it works great for us! However, trying to store it and organizing it can be a hassle. Until now!
The Easiest Way To Organize Abeka Curriculum
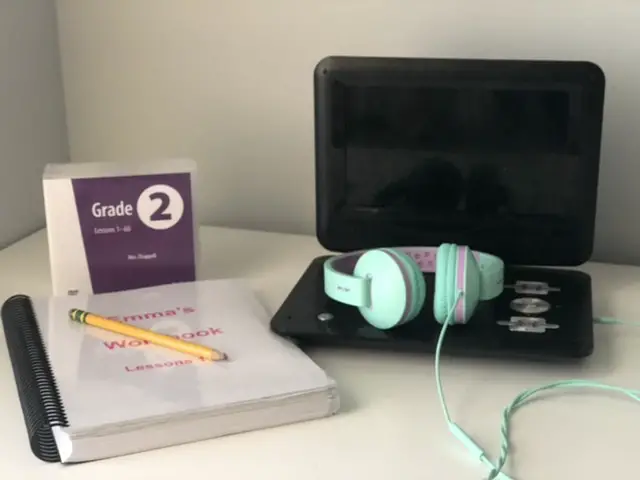
This is our third year using this curriculum, so at first I wasn’t too sure what to expect. I love the structure, the classes, workbooks and the option of watching the teacher on DVD whenever and wherever we wanted! But dragging out 7 different books everyday got old.
I tried the crate system but it still required me to pull papers everyday plus I had to store three giant crates in our school room because three of my four kids are in school now. Not ideal. If you’re not familiar with the crate system, I’ll have it linked below.
I’m certainly no Abeka expert after only three years experience but I am definitely more familiar and comfortable with how it works for our homeschool. That being said, I’m trying a new method for organization this year……..binding.
How It Works
I did lots of research on what was the easiest way to organize Abeka curriculum and other than the crate system there’s not a lot of other options. The only other option I found was where some group together subjects and place them in a large binder and every so often switch out the papers.
This sparked my interest to see if I could find something similar, but didn’t require me to store and sort so many papers so often. That’s when I came up with the idea to group together all subjects by lesson number and have them professionally bound. I’m sure there are others out there who have done this, I just didn’t find them so I wanted to share it with you because it has worked so well for us!
The key to making this super easy is to order all of your papers/workbooks ‘unbound’. That way when they arrive in the mail you don’t have to worry about manually tearing out every single paper. If you already have the books and they are bound you can still use this method it will just require a little more elbow grease!
Now It’s Time To Start Organizing Your Abeka Curriculum
Start by simply laying out all the papers in subject order on the floor….make sure all children and babies are not within reaching distance so they don’t scatter them everywhere! I may or may not be speaking from experience here. 🙂
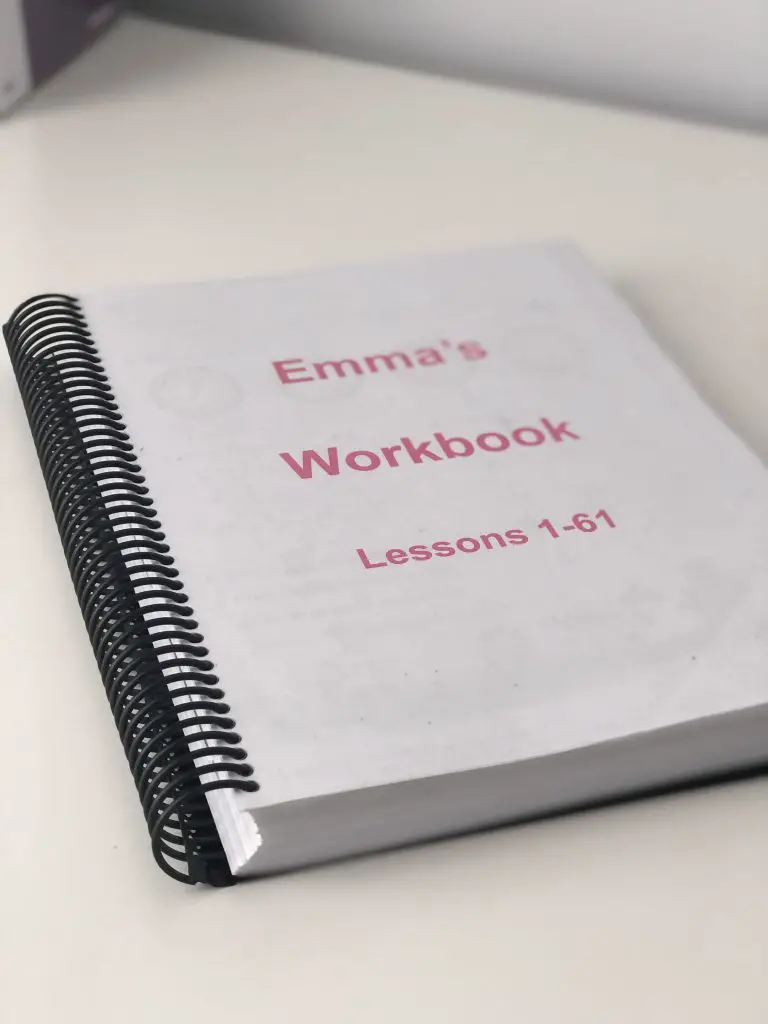
You’ll want to group them by lessons first so start by pulling all papers for lessons 1 through 60. We use the Abeka Academy DVDs also so when I’m done grouping together the lessons I then place them in the same subject order as stated in the video manual.
For example, Bible is always first on her DVD so I put her Bible activity sheets in her binder first. Then comes math so I pull the math worksheet, speed drills and so on until I get to lesson 60. As you can see by the pic, I actually placed lessons 1-61 together for her first binder by accident. But that’s ok! It’s still working great. Just learn from my mistake here and double check with the DVD’s (if using them) and the teachers video manual.

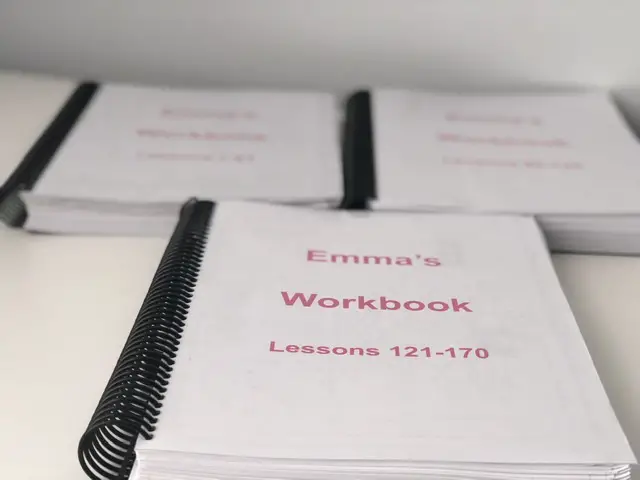
Group together lessons 1-60, 61-120 and finally 121-170. Whether you are using the DVDs or not it still helps break up the lessons so you don’t have one giant workbook. However, If you are using Abeka Academy DVDs it is very helpful because your child can open their binder and follow along with each video lesson. And when they start a new case of DVDs they’ll know they’re ready for their new workbook.
Side note: The only book I keep separate and do not add to our personal bound workbook is spelling. I have found that it is more convenient for us to keep her spelling book just the way it is and pull it out whenever needed.
You’re almost done!
Now comes the fun and exciting part. Drum roll please……. I let my kids pick out the colors they want on the cover of their workbook. LOL Was that a let down? I’m sorry. My children are easily amused! And for that I am thankful. They love seeing their name and getting to pick out the colors because it’s special and made just for them. Whatever it takes to get and keep them excited about school and learning!
Once the papers are sorted and the covers have been made it is now time to get them bound. I simply secure each stack with a large binder clip so they don’t get mixed up, take them to a local print shop and have them spiral bound with a clear cover. The best part is, it’s less than $5 per book! And just like that, we’re ready for the year. It really is as easy as that.
They’re easier to store, a cinch for the kids to find their daily lessons and mom doesn’t have to spend time pulling papers for each kid. All they do is open their workbook and they’re good to go!
This easy way of organizing our Abeka curriculum has been a huge help and blessing to our family and I hope it will be for yours as well.
Happy Homeschooling!
Curious to know more about our farm? Get to know us here!
Find out more about Abeka curriculum here.
Don’t have a local print shop? No worries! You can bind your books yourself at home with this binding system!
I love Abeka but with 4 kids in school now the books and papers are starting to get overwhelming and I am searching for that perfect method. Do you have all math papers back to back one after the other or is it separated by each lesson planned for that day?
Thanks
Yes! I separate by each lesson. I have found that works best for our family. My kids now know to look for the lesson number on their pages and not just the page number.
I love this idea! just a quick question do you also put their tests in the binded books? If not how do you store or organize those so that you don’t lose any especially when it’s time to send them in? Thank you
Thank you! I keep tests separate, just in the test book that they come in so that my kids are tempted to look ahead 😜 once they’re done I keep them in my homeschool planner. Now that I have 3 homeschoolers that system may change but that’s what I’ve done the previous 2 years.
This is brilliant!! Thank you so much for sharing this. Pulling all the sheets and storing them all is such a pain. This solves so many problems.
Thank you!! It’s been so helpful to me, I hope it will be for you as well!